How to Remove and Reinstall the Rubber Track on a Track System

If you’ve been riding on a Camso track system for a while, then you already know how durable the rubber tracks are. But every once in a while, a track needs replacing. Knowing how to do this yourself can be very handy.

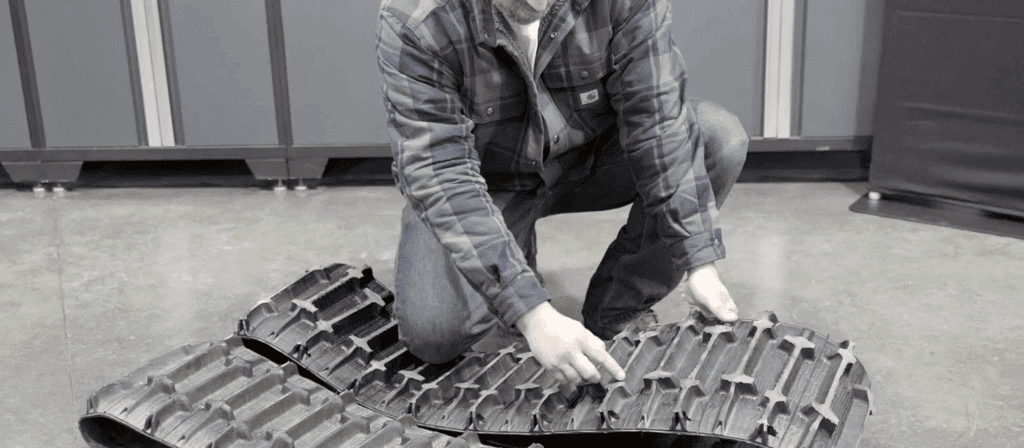
If you’re a DIY-er, all you need is a few tools and our In the Shop video: How to Remove and Reinstall the Rubber Track on a Track System. It shows you how to inspect, remove, and reinstall the rubber tracks on Camso track systems. It also shows how to verify and properly adjust the track tension to minimize the risk of premature wear, derailing, and drive ratcheting.


Maintenance steps covered in the video

The video starts with something we should all be doing on a regular basis: visually inspecting your track system. Specifically, what signs of wear, damage, etc. to look for in your rubber tracks.

Need new rubber tracks? Get original Camso replacement tracks.

Next, the video shows how to remove the rubber track from the track system, and which tools you’ll need to have on hand to do this. It also walks you through the steps for reinstalling an existing rubber track – or installing a new rubber track on a track system.

PRO TIP
Removing the exterior idler wheel makes it much easier to put the rubber track back on.

Whenever you install a new rubber track on a track system, or reinstall an existing one, the track tension needs to be adjusted. The video shows you how.

PRO TIP
Check and adjust track tension periodically to keep your track system in good condition. Using the Camso track tension testing tool is the easiest way to do this.

By the end of the video, you’ll know how to inspect, remove, and install Camso tracks. And how to adjust the tension of your rubber tracks. Now, if you ever hit something hard enough for the rubber track to slip off your side-by-side or all-terrain vehicle, you’ll know exactly what to do.